
How Much Is A New Garage Door? 2025 Cost Guide for Oklahoma City
November 7, 2025
Your garage door quit halfway up this morning. Or maybe you're just tired of that outdated style dragging down your…


When your garage door won’t close, you face more than inconvenience. Your car sits trapped, your home stays exposed, and you stand wondering what went wrong and how to fix it. Most garage door issues have clear causes, and many respond to simple troubleshooting before you contact a professional.
This guide helps Oklahoma City homeowners identify the most common issues, walk through safe DIY checks, and recognize when expert help becomes necessary. You’ll understand how your garage door opener, safety sensors, and mechanical components work together each time the door closes.
Your garage contains dozens of moving parts that must work in perfect sync. When even one component fails, the garage door may refuse to close, stop halfway, or reverse unexpectedly. Breaking these issues into smaller sections makes troubleshooting faster and easier.
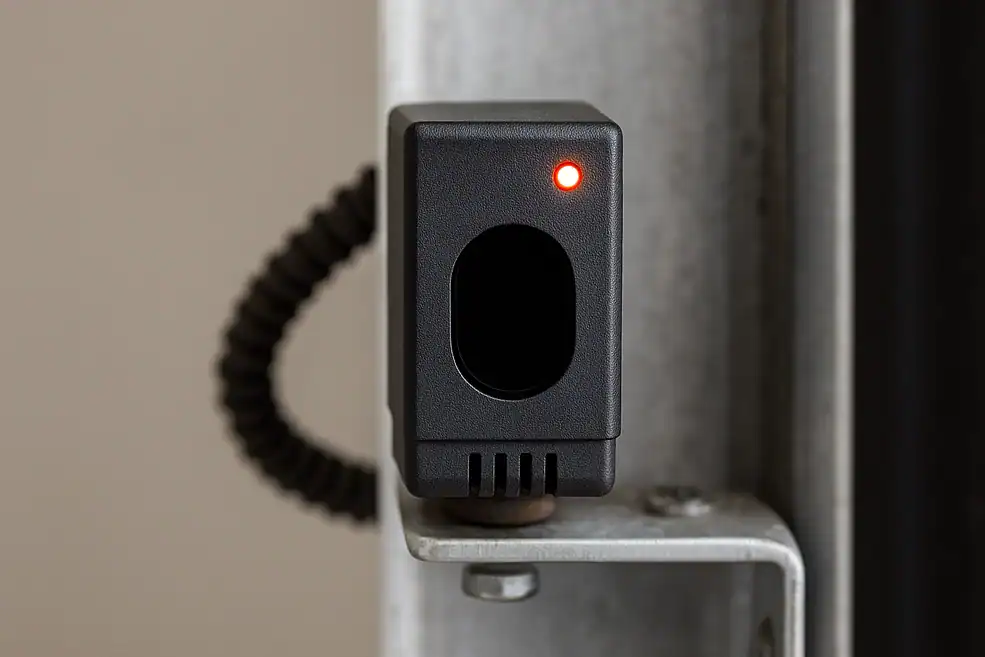
Modern garage doors rely on safety sensors mounted near the floor. These devices project an invisible beam across the opening. When something disrupts that beam, the system stops the door’s movement before it reaches the ground to protect pets, objects, and small children.
The sensors communicate with the garage door opener to confirm the path is clear. If the beam is interrupted, the opener will not close the door.
Start your inspection by looking for physical obstacles in the door’s path. Toys, tools, storage boxes, or yard equipment can block movement without you realizing it. Even something small, like a rope hanging from a hook, can break the beam. Clear the entire closing area and try the door again.
If the door still will not close, check the condition of the sensors. Dust, dirt, and spider webs can interfere with the lens. Clean each lens gently using a soft cloth. After cleaning, check the sensor lights. Solid lights usually mean the sensors are aligned correctly. Blinking LED lights indicate sensor issues or misalignment.
If the sensors look crooked or do not face each other directly, they need gentle adjustment. Loosen the mounting bracket slightly, position the sensors until the lights remain solid, then tighten the hardware. Never kick or force the sensors back into place, since that causes more damage.
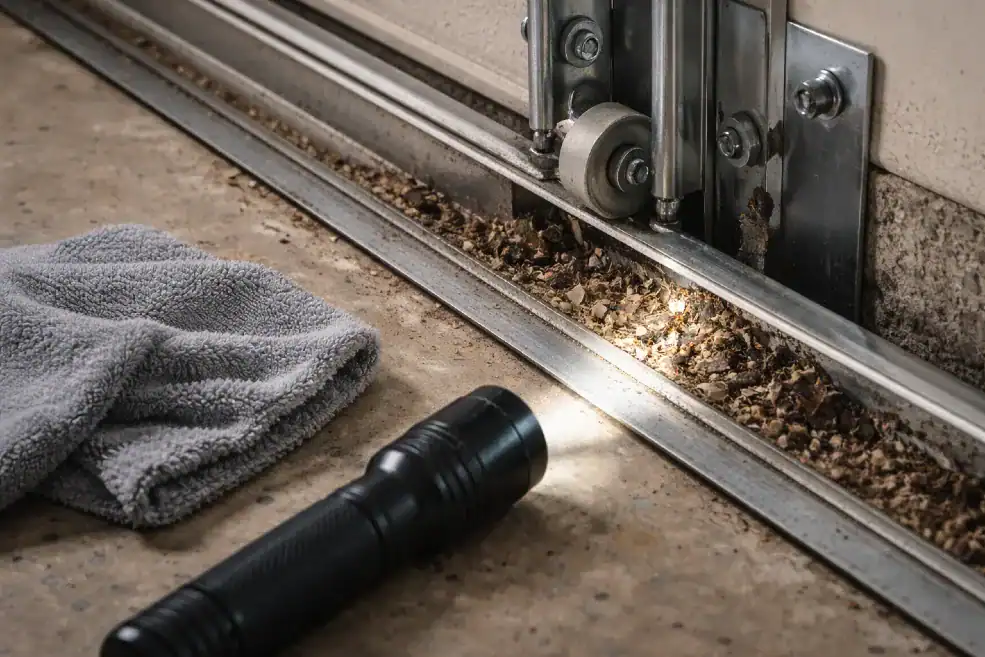
The metal tracks guide the rollers as your garage door moves up and down. When dirt accumulates or damage occurs, the rollers cannot travel through their full range of motion.
Watch for symptoms such as:
Turn off your opener unit before inspecting the tracks. Wipe away dirty sections and remove loose dirt or debris. Tighten screws and check that all brackets remain secure against the wall. Look for gaps, bends, or warping in the metal.
Minor cleaning helps with performance, but significant bends or gaps in the metal need professional repair. Ignoring track damage puts strain on rollers, hinges, and the opener.
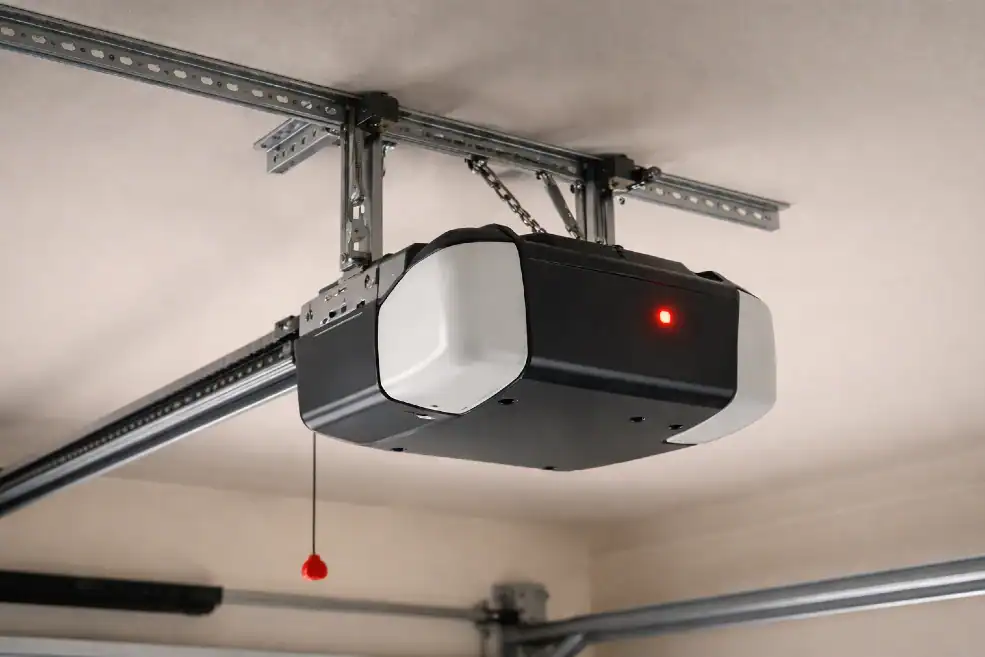
Sometimes the garage door opener itself causes the trouble. The motor inside the opener unit pulls the trolley along the rail. When force settings, travel limits, or internal wires malfunction, the opener stops the door as a safety precaution.
These issues often point to an opener malfunction:
Limit screws help the opener determine when the door has reached the floor. Incorrect settings make the opener think the door hit the ground early, which causes it to reverse. Check your manufacturer’s instructions before adjusting these controls. Never adjust screws randomly.
If the opener still malfunctions after checking the settings, the issue may come from:
These situations require professional diagnosis to prevent more damage.
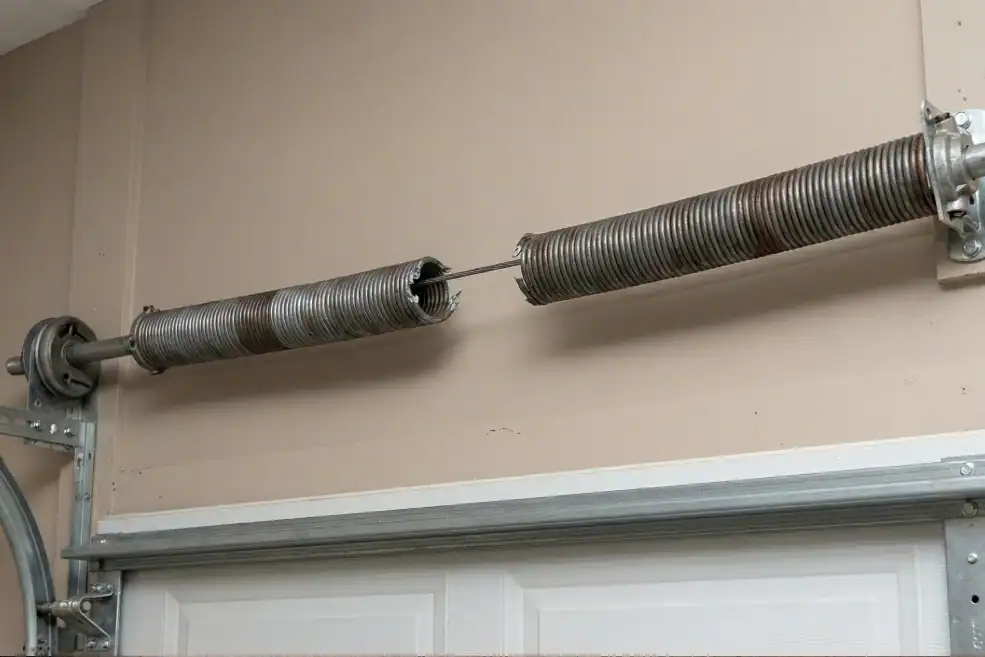
Springs and garage door cables handle the weight of the door. When either part fails, the door becomes dangerously unstable. Your system will have either torsion springs above the door or extension springs along the tracks.
Common symptoms include:
Springs operate under high tension. Trying to replace or adjust them yourself is extremely dangerous. Garage door cables also carry significant weight and force. Mishandling either component can result in serious injury.
Never try to manually close a door when springs or cables have failed. The door can drop suddenly, damage other components, or cause injury. At the first sign of broken hardware, stop using the system and call a professional.
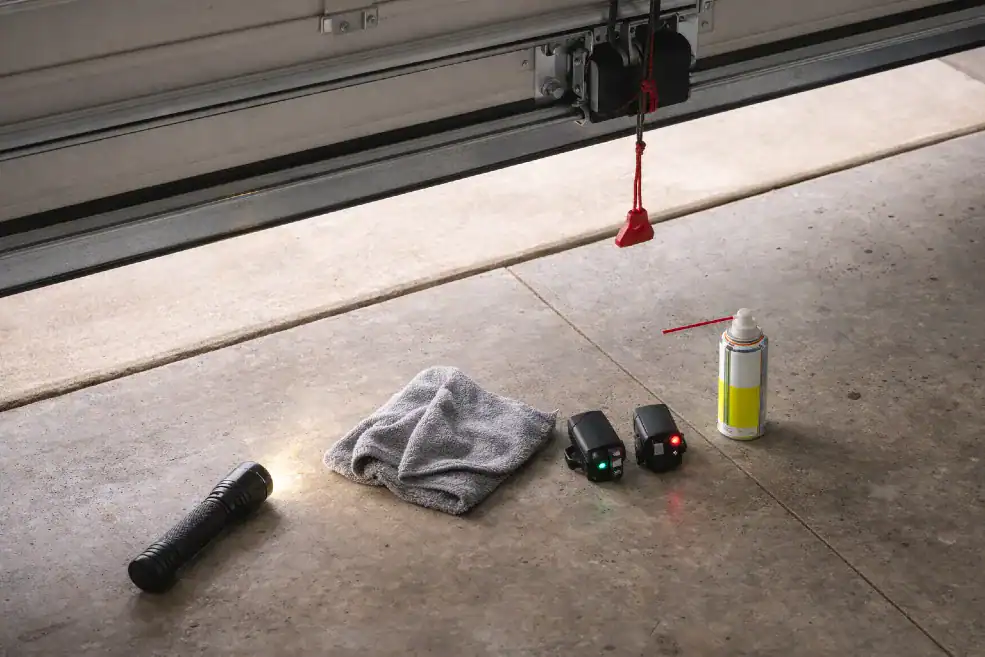
Before you contact a repair service, try these safe diagnostic steps at home. These tests help you fix simple problems and provide useful information when you schedule professional help.
Start with a thorough visual inspection around the entire opening. Look for anything blocking the path where the door needs to travel. Move toys, tools, storage bins, or equipment away from the tracks and the area where the door closes. Check the floor for loose hardware, detached rollers, or debris.
Once you clear the path, push the wall button or use your remote to test the door. If it moves smoothly and reaches the completely shut position, you’ve solved the issue.
If your garage door still won’t close, focus on the sensors. Inspect both lenses for dirt, damage, or misalignment. Clean each lens with a soft cloth, removing any buildup that might block the beam.
Confirm that both sensor lights stay on and solid. If one light blinks or stays dark, you’re dealing with alignment or wiring problems. To reset the sensors, loosen each mounting bracket just enough to allow movement. Adjust each sensor until both lights turn solid and the lenses face directly at each other. Tighten the brackets to hold the new alignment.
Some openers offer a bypass mode that lets you hold the wall button until the door reaches the down position. Use this feature only as a temporary fix while you address the root cause. Bypass mode doesn’t replace working safety sensors.
Examine your tracks, rollers, and hinges closely. Use a flashlight to inspect every section of the track for dirt buildup, physical damage, or anything that might stop the rollers from moving smoothly.
Check whether the tracks stay straight and properly aligned with each other. Verify that rollers sit fully inside each track rather than climbing out or catching on rough spots. Look for track obstructions and fresh scratches where metal rubs incorrectly.
Clean away loose dirt, then apply lubricant to the rollers and hinges. Avoid heavy grease that collects grime over time. Proper lubrication helps all moving parts work smoothly and quietly.
If everything looks clear, but the garage door won’t close, test the door manually. Every opener includes an emergency release rope that disconnects the trolley from the motor. Only pull this rope when the door is in the down position or when someone strong enough can hold the door securely.
Once you release the trolley latch, try moving the door by hand. Lift it halfway and see whether it stays in position on its own. Lower it slowly, watching for spots where it feels stuck or unbalanced. Listen for scraping, grinding, or clicking sounds. Pay attention to how heavy the door feels throughout its full range.
If the door won’t stay in the up position, feels extremely heavy, or won’t move smoothly, the springs aren’t working properly. Reconnect the trolley according to your manufacturer’s instructions so the opener can resume control.
When the door moves smoothly by hand but the opener still struggles, you might have remote issues, a weak motor, or internal wires that need professional diagnosis.

Some garage door problems carry too much risk for DIY repairs. If you suspect broken springs, damaged cables, electrical failures, or anything outside your expertise, contact a local expert immediately.
Call a professional garage door technician when:
Springs, cables, and high-tension hardware aren’t designed for homeowner repair. Attempting manual fixes can cause injury and further damage to your garage door and opener system.
When you schedule service, a trained technician will inspect your entire system, including springs, cables, rollers, and track alignment. They’ll test the opener unit, motor, and remote controls to verify every component works correctly.
The technician will check that all safety features function properly, adjust force settings and travel limits as needed, and replace any broken components with compatible parts. They’ll also review maintenance tips to help your door continue operating safely and reliably between service visits. If need be, we are known for garage door opener installation in OK.
Next Level Garage Services understands how a reliable garage door affects your daily routine. Their technicians bring real experience with every component that keeps a door functioning, from torsion springs and extension springs to sensors, wires, and rollers.
Whether your door stays stuck open, freezes midway through the track, or refuses to budge at all, they diagnose the cause quickly and explain your options clearly. That might mean a simple sensor adjustment, new garage door springs, updated travel limits, or replacing older parts that no longer meet safety standards.
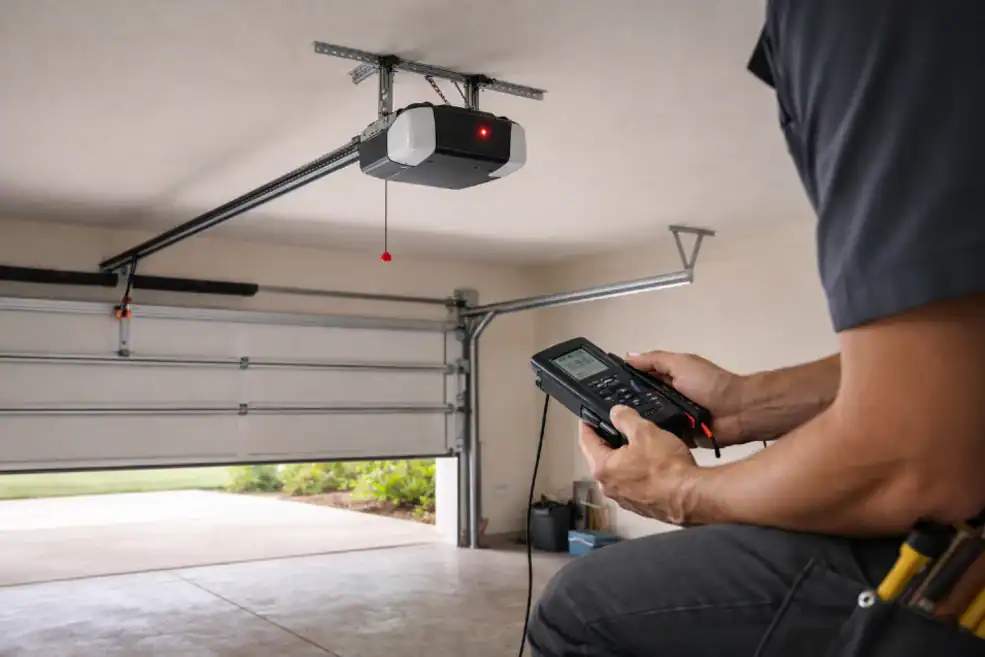
If you’re still asking “why won’t my garage door close” after checking sensors, tracks, and basic settings, bring in a qualified technician. Don’t ignore light flashes on the opener, strange noises, or a door that doesn’t move the way it should.
Contact Next Level Garage Services in OKC for a thorough inspection. A professional will explain what went wrong, fix the problem efficiently, and restore safe operation to your garage door. One service visit protects your home, eliminates guesswork, and makes sure your door opens and closes smoothly every time you push the remote.


