Signs of Frayed Garage Door Cables and Immediate Action Required
January 16, 2026
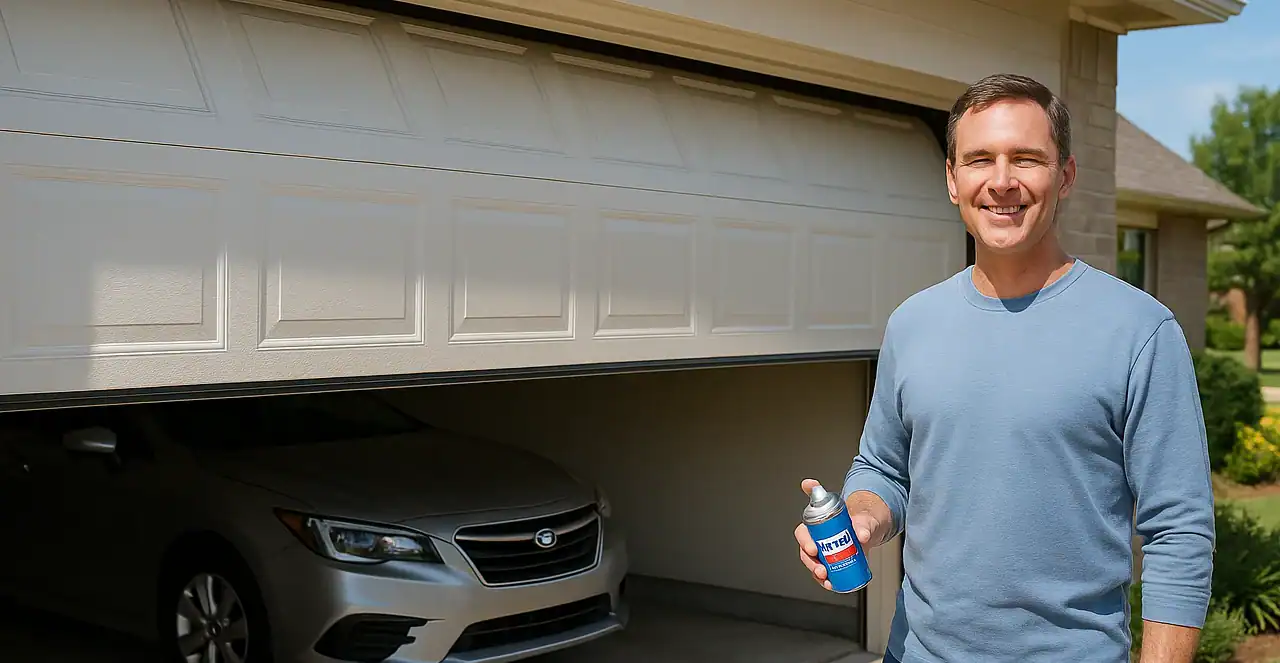
That grinding noise from your garage door isn't normal. Frayed garage door cables are among the most dangerous yet overlooked…

Before you head to the hardware store and start eyeing paint samples, take a few minutes to learn how to paint a garage door properly. Before you’re able to apply a fresh coat of paint, there’s a bit of prep and process involved if you want it to last. This comprehensive guide from Next Level Garage Doors gives you the exact steps, product suggestions, and a few solid tips we’ve picked up over the years.
First and foremost, you’ll want to know what type of garage door you’re working with. Different materials need different prep and paint. Some garage doors take paint easily, while others need more surface prep to avoid problems like peeling paint, flaking, or poor adhesion.
If your garage door is made of wood, you’re in luck. Wood is one of the easiest materials to work with because it naturally holds paint well. Just be sure to check for rough edges, cracks, or water damage. Sanding and priming are a must here. Without those steps, you’ll get uneven coverage, and your paint might wear out quickly.
We always recommend using a high-quality primer designed for wood before applying your first coat of exterior paint. It helps seal the grain and gives the top layer better hold.
Painting a metal garage door is absolutely doable, but it takes a bit more prep work. Many homes in Oklahoma City have metal or steel doors, and we’ve repainted plenty of them. The key is getting a smooth surface before applying paint. If there’s any rust, peeling paint, or residue, you’ll need to remove it first. That usually means light sanding, cleaning, and in some cases, even pressure washing or using a wire brush.
Once clean and dry, using a primer designed for metal is important. Look for one that’s labeled “bonding” or “direct-to-metal.” Without it, your new coat might not stick properly.
Some garage doors are made from fiberglass, vinyl, or composite materials. These can be painted, but they require flexible exterior paint that won’t crack or chip as the material expands and contracts with the weather. You’ll still need to prep the entire door, but be extra careful with these surfaces as they can be tricky if you use the wrong materials or tools.

You need paint that holds up to heat, cold, rain, and Oklahoma wind. That’s why we always recommend using exterior paint that’s specifically made for doors, siding, or trim. It should be durable, flexible, and able to stand up to daily wear.
Here’s what we suggest:
Finish matters too. Go with semi-gloss or satin. These finishes are easier to clean and resist dirt better than flat or matte options. Brands like Sherwin-Williams have lines made specifically for doors and trim, and they perform well long term.

Now that you’ve got the basics, let’s go through the actual process. Learning how to paint a garage door the right way means taking your time with prep and working in layers. This isn’t a rush job, but if done properly, it can completely transform your garage and home’s exterior.
The first step is picking a dry day with mild temperatures. Avoid direct sunlight, rain, or windy conditions. Exterior paint needs the right conditions to dry and cure properly. Mid-morning or early evening is often best, especially if your garage door gets a lot of sun.
Below, you’ll find a list of suggested tools and supplies you’ll need for a successful project:
You want to start with a clean slate. Wash the entire door using a bucket, water, and cleaning solution. If the door is really grimy or chalky, you may need to power wash it, but don’t go overboard because pressure washing that’s too strong can damage wood or dent metal. Make sure you scrub out all the corners and clean the door trim, panel grooves, and hardware areas. Let it dry completely before moving to the next step. Don’t paint a slightly wet surface because it won’t stick right.
Once dry, take a good look. If you see old peeling paint, rust, or rough spots, scrape those off. Use a wire brush or putty knife for problem areas. Then lightly sand the entire panel to smooth out bumps and help the new coat adhere better. Focus on any rough edges, especially near the door frame, corners, or hardware. Finally, wipe everything down again with a dry rag to remove dust.
Before applying paint, use painter’s tape to get those clean lines around the door frame, wall, trim, and any windows. Cover brick, siding, and hardware with plastic sheeting or cardboard. Remember, you don’t want excess paint dripping on concrete or nearby surfaces. Taking time here avoids messy cleanups later.
Priming is one step you don’t want to skip, especially if your door is bare metal, previously unpainted wood, or has multiple patched-up spots. Use a primer designed for the material you’re working with. For most jobs, you’ll only need one solid coat of primer. Let the primer dry completely before painting.
Start from the top corner of the top panel, and work your way down. Use a roller for larger areas and a brush for grooves, edges, and trim. Work in sections and keep a wet edge, which just means slightly overlapping each section before it dries so you don’t get lines. Let the first coat dry fully (follow the label, usually around 4 to 8 hours).
Check your results. If you can still see the old color or if coverage looks thin, go for a second coat. Again, start at the top panel and move down. If you’re using the same color, this step might not seem important, but a second layer gives longer-lasting coverage and helps protect the door from sun and moisture.
Once the final coat is dry, remove the painter’s tape carefully. Check all the corners and trim. Touch up any missed spots or light patches. Reattach any hardware you removed and test the door. Of course, make sure the door opens and closes smoothly, and that no paint got stuck in the tracks or hinges.
There’s more to painting your garage door than just changing the color. A good paint job adds real value.
A clean, updated garage door immediately improves your curb appeal. It can make an older door look new again and help your house stand out.
Good exterior paint acts as a shield. It keeps out moisture, prevents rust on metal, and seals wood from rot or cracking. That means your garage door lasts longer.
Compared to a full replacement, painting is a smart, low-cost way to get more life out of your existing door.
Want your garage to match your trim, siding, or front door? Painting gives you total control over the look of your home’s exterior. Whether you want a bold statement color or a classic neutral, you can create a look that fits your home perfectly.
If your garage door needs more than a new color or you’re not sure painting is worth it, reach out to our team at Next Level Garage Doors. We’ve been helping Oklahoma City homeowners with garage door repairs and installations for over years, and we’re also an authorized LiftMaster partner and Clopay dealer. So whether you need a full door replacement, just want to check if painting is the right move, or need help with your DIY project, we’re here to help.
Give us a call today, and let’s talk about what’ll work best for your home!