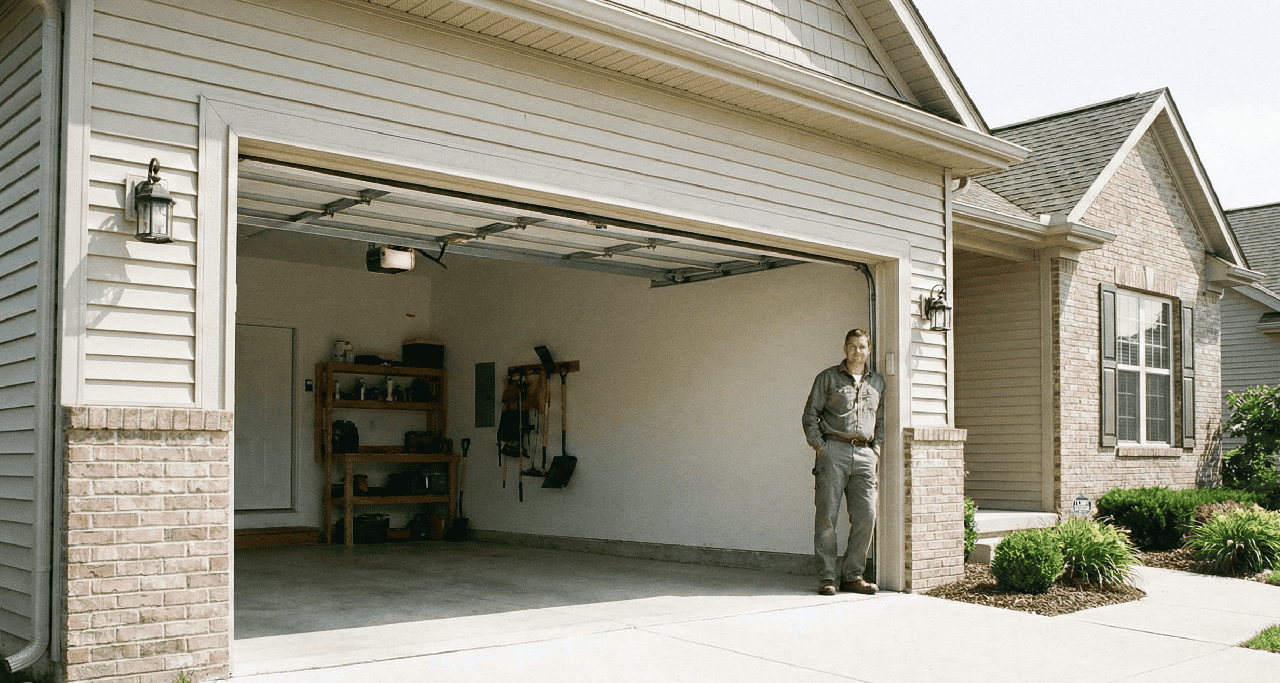
Before you call in the cavalry, there’s a good chance you can fix that stubborn garage door yourself. At Next Level Garage Service, we’ve seen it plenty of times: sensors get knocked out of line and stop everything. In this article, we’ll teach you exactly how to align garage door sensors using a few basic items and the right tools you probably already have at home.
How Do Garage Door Sensors Work?
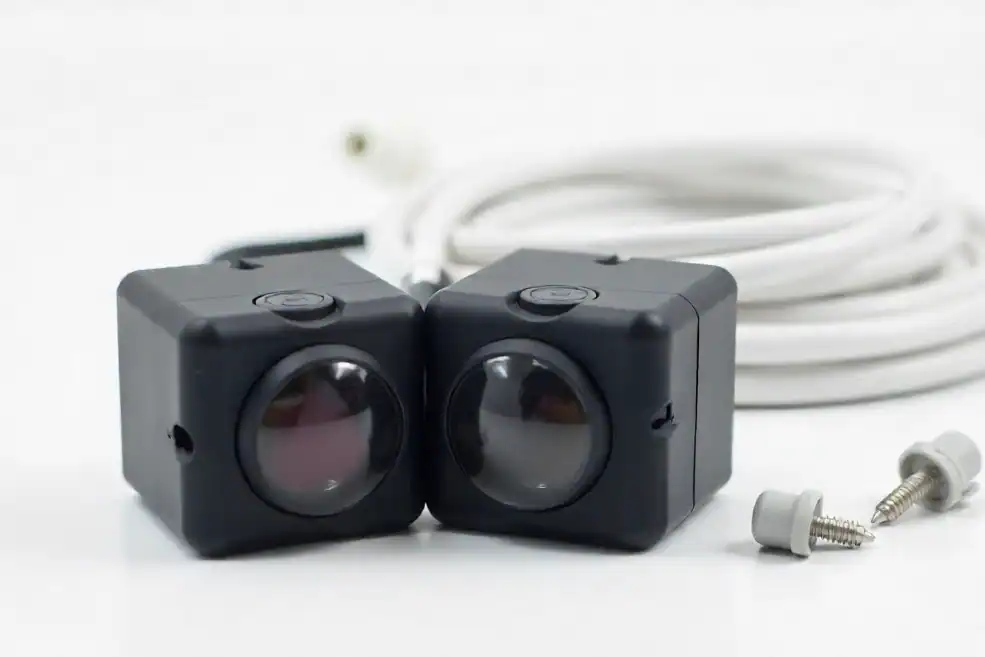
To understand how to fix the problem, it helps to know what you’re looking at. Garage door sensors (also called safety sensors) are mounted near the ground on both sides of your garage doorway. They work in pairs:
- One sensor (the transmitter) sends an invisible infrared beam across the garage door opening.
- The opposite sensor (the receiver) detects that beam.
- If the beam is blocked or misaligned, the system assumes there’s an object in the way, and the garage door opener will prevent the door from closing.
This is a safety feature. It’s what keeps the garage door from shutting on a person, vehicle, or object in its path. If the garage door sensors stop working properly, the door sensors will keep the garage door open as a precaution.
Step-by-Step Guide to Aligning Garage Door Sensors
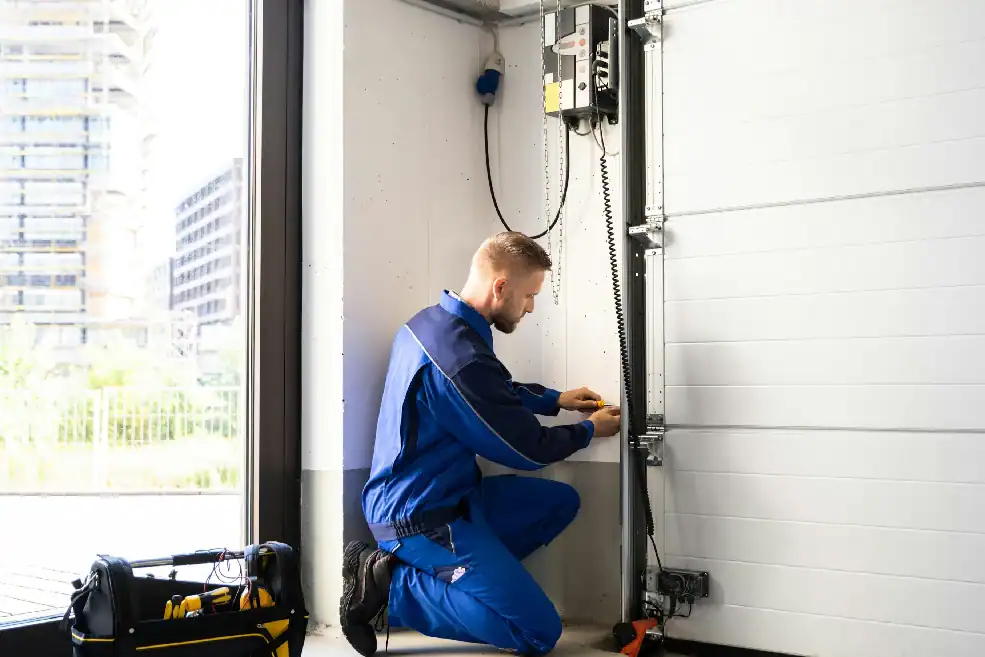
Even if you don’t have professional tools or experience, you can still realign the garage sensors using this simple, accurate guide. Just follow each step, stay safe, and be patient with the adjustments.
Step 1: Disconnect the Garage Door Opener for Safety
Before doing anything, cut off the power supply. This is important for your personal safety.
- Unplug the garage door opener from the ceiling outlet. If you can’t reach it, go to your home’s breaker box and flip the switch that controls the garage circuit.
- Wear electrically insulated gloves (or electricity-resistant gloves) before touching any wires or screws holding the sensors in place.
- Pull the red emergency cord to disengage the garage door opener mechanism so the door won’t move while you’re working.
Remember: You should never touch wiring or sensors with your bare hands while the garage door opener is still live.
Step 2: Locate and Inspect the Garage Sensors
Find the two sensors near the bottom of the garage door tracks. They’re usually installed 4–6 inches above the ground.
- Check the sensor’s surface for dirt, dirty lenses, cobwebs, or any sign of damage.
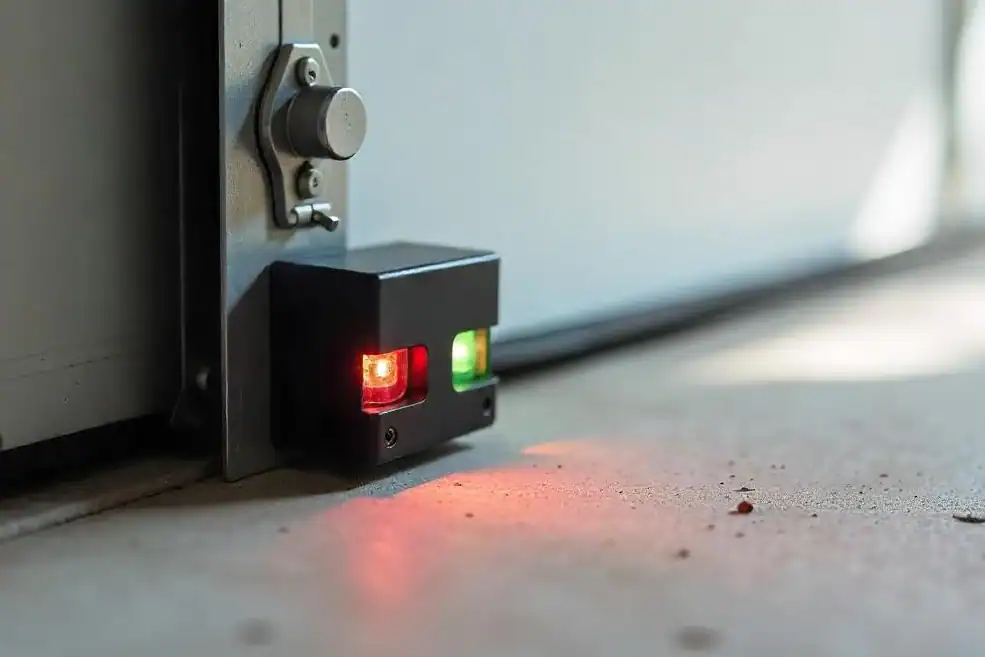
- See if either light is flashing. In most cases, a flashing or no green light on the receiver means something’s off.
- Make sure the brackets haven’t been bent or knocked out of place.
- If you spot damaged wires, loose screws, or cracks, the sensor might need to be replaced.
Use a soft cloth to wipe the sensor’s surface clean. Even a small layer of dirt can block the beam and stop the garage door from working properly.
Step 3: Check the Mounting Brackets and Hardware
If the garage sensors are loose, they won’t hold their position. So, make sure you check the mounting brackets.
- Loosen the screws holding the sensors just enough to adjust them.
- Inspect the brackets for damage, bending, or shifting. If they’re off-level, the beam won’t line up.
- Confirm both brackets are at the same height on either side of the garage doorway.
- Adjust the brackets to create a clear, straight line between the two.
Once the brackets are stable, tighten the screws back down, but not all the way yet. You’ll still need to continue adjusting during alignment.
Step 4: Clean the Safety Sensors for a Clear Signal
Clean lenses are important for signal clarity.
- Gently wipe the sensor’s surface using a microfiber cloth.
- Avoid abrasive cleaners that could damage the lenses.
- Pay extra attention to dirt, grease, or residue from yard tools or tires.
Even if your garage sensors are properly aligned, they can stop working if the beam is obstructed by grime or dirty lenses.
Step 5: Align the Garage Door Sensors Manually
Here’s where you do the actual alignment work.
- Loosen the screws slightly so each sensor can slide a little.
- Point the transmitter and receiver directly at each other. They should form a perfect straight line.
- You can use a laser level, string, or your eye to line them up evenly.
- Watch for the green light on the receiver. When it stays on, you’ve hit the sweet spot.
- Once the lights are steady and there’s no flashing, tighten the screws firmly to lock the position.
The goal is to align garage door sensors until they form a clean beam path. If the beam isn’t lined up just right, the door won’t close when necessary.
Step 6: Restore the Power Supply and Test the Sensors
Now that your sensors are aligned, it’s time to power up and test.
- Plug the garage door opener back in or reset the breaker box.
- Make sure the emergency cord is reattached to the garage door opener.
- Use the wall button or remote to close the garage door.
- As the garage door closes, wave a stick or cardboard through the beam. If aligned, the door should stop and reverse.
If the door keeps moving even when the beam is blocked, or doesn’t close at all, check the alignment again.
Step 7: Recheck the Garage Door Opener Settings
Alignment is just one piece of the puzzle. If the garage door still won’t close, check your opener’s sensitivity and limit settings.
- Look for other indicators like blinking error codes.
- If your opener has adjustable sensitivity knobs or settings, check them.
- An opener set to overly sensitive may misinterpret a minor obstruction.
Sometimes these settings drift over time, especially in older systems. Fine-tuning them can help the whole garage door system work correctly again.
How to Troubleshoot Common Sensor Issues
Even with perfect garage door sensor alignment, other factors can cause trouble. Check for:
Flickering or No Light on One Sensor
- A flashing light often means the beam is misaligned or the sensor is faulty.
- Swap sides and see if the issue follows. If yes, you likely need to replace one sensor.
- Inspect for damaged wires, and test with a multimeter if needed.
Sunlight or Glare Interference
- Bright sunlight can interfere with the receiver.
- Try shading the sensor with a small cover.
- You can also switch the receiver to the shadier side of the garage, if compatible.
Dirty or Obstructed Lenses
- Clean the sensor’s surface again. It doesn’t take much to block the beam.
- Make this part of your seasonal garage maintenance routine.
Damaged Hardware or Wiring
- If the mounting brackets are loose or the screws won’t hold, replace them.
- Look for pinched or frayed wiring along the garage frame.
- Avoid working near power without electricity-resistant gloves or without turning off the fuse.
Misaligned Door Tracks
- If the garage door binds or shakes while closing, the vibration may misalign the sensors.
- Lubricate the tracks, check the rollers, and keep the garage doorway clear.
Opener Issues
- If everything else checks out, the issue could be in the opener’s logic board.
- Contact a technician to test or replace it if needed.
Tried Everything and Still Stuck?
Sometimes, even when you do everything right, one side’s still off, or the beam won’t connect. That’s a sign that it’s time to drop the wrench and call in the pros. Our techs can fine-tune alignment, attach new brackets, or do a full garage door opener installation if that’s what it takes. We’ll make sure everything from one end to the other lines up perfectly—so your garage door works every time.
Get in touch by calling us at (405) 584-6593 today!