
Garage Door Maintenance Checklist: Monthly and Annual Tasks
August 25, 2026
A little routine maintenance can go a long way toward keeping your garage door operating safely and reliably. By taking…



A closed garage door should separate your home from the outdoors. When daylight shows around the edges, rain slips underneath, or Oklahoma wind blows dust inside, worn weatherstripping is often the reason.
A timely garage door weatherstripping replacement can create a cleaner, drier garage and help control energy costs by limiting drafts. At Next Level Garage Service, we inspect the opening so the new seal matches the door, track, and floor.
This guide explains how to recognize a failing seal, choose the right type of weatherstripping, understand what replacement involves, and decide whether the job is a reasonable DIY project or one that needs professional attention.
Weatherstripping closes the narrow gaps between the door and the surrounding structure. The garage door bottom seal compresses against the concrete when the door closes. Weather seal material along the sides and top presses against the face of the door, completing the line of protection. That barrier helps protect vehicles, tools, and boxes from rain, dust, leaves, insects, and outside air. No seal makes a garage floodproof, but a proper fit makes a noticeable difference.
This applies to many styles of garage doors. A metal sectional door may use an aluminum retainer and a slide-in rubber insert. A wood garage door might have a nail-on strip attached directly to the lower edge. Commercial doors may use heavier retainers or brush seals designed for frequent use and wider openings.
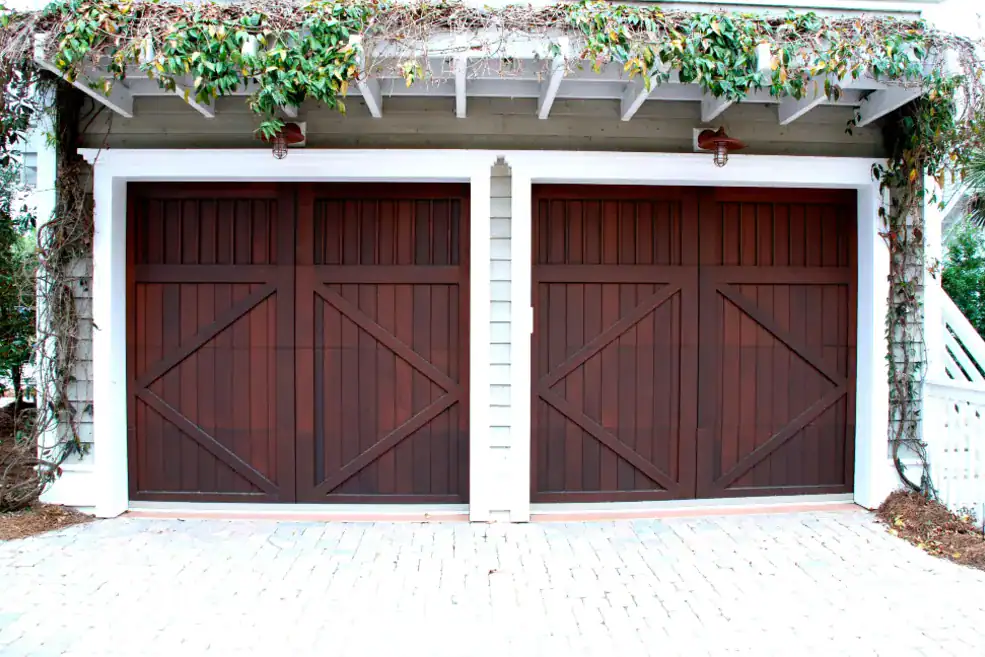
Close the door during daylight and inspect it from inside. Daylight along the sides, across the top, or beneath the garage door can mean the weatherstripping is no longer sealing properly.
Feel near the edges on a windy day. A draft suggests the seal has hardened or lost its shape. Puddles, dirt, pests, and brittle black rubber are other clues.
Weatherstripping can fail before it looks ruined. A flattened section may appear intact but no longer spring back against the floor. If dust returns after cleaning, the barrier has probably stopped working.
An uneven floor, damaged panel, bent track, or out-of-level door can leave gaps that a new bottom seal cannot correct. Next Level Garage Service inspects the door’s balance, hardware, and travel before recommending what to replace.
Garage door seals are not one-size-fits-all. Check the door’s width, required length, gap height, retainer dimensions, and track shape before buying anything.
The ends of slide-in seals may be T-shaped, round, or beaded. A small difference in bead diameter can stop the material from entering the channel or holding securely. Choose a profile that matches the existing retainer; even a seal included in a “universal” kit may not fit.
On many metal garage doors, the bottom gasket forms a U when installed, while its T-shaped or beaded ends slide through two channels in the aluminum retainer. This design can make replacement straightforward when the new seal’s profile and bead diameter match the existing channel. Quality EPDM rubber and TPE bottom seals are commonly chosen for wide seasonal temperature swings because they tend to remain flexible and resist cracking better than basic vinyl formulations.
For the top and sides, PVC weatherstripping made with UV-resistant formulations can better withstand prolonged sunlight. Pairing PVC perimeter seals with an EPDM or TPE bottom seal is one practical option for many homes, but compatibility with the door and retainer should always come first.
Side and top weatherstripping often comes as vinyl stop molding. A vinyl doorstop with integrated weatherstrip can replace damaged door stops and the flexible edge together. On a wood frame, it may use galvanized nails or exterior-rated screws. Brush seals control debris around some commercial doors but do not create the same water barrier as rubber.

On paper, the job looks easy and simple: remove the old material, take a few measurements, cut the replacement, and install it. Getting the fit right is where many replacements go wrong.
For a garage door bottom insert, the old rubber is removed, and the retainer is checked for damage or loose screws. Clean the frame and retainer channel before installing the new seal. Dust and grit can interfere with the fit, and debris inside the channel may cause a long strip to bind halfway across.
Cut the replacement strip slightly longer than the door’s measured width. Once it is seated in the track, trim the excess rubber with a sharp utility knife so the ends align with the door. Follow the manufacturer’s instructions and secure the door so it cannot move unexpectedly while you work.
With the door closed, install each side piece so its lower end sits flush with the concrete floor. The flexible flap should touch the door with light, even pressure. Cutting a slight 45-degree angle on the top edge of the side flaps creates a cleaner overlap with the header seal.
After installation, test the door to ensure it moves freely and sits level. Check the safety sensors, opener travel, and bottom edge. During garage door maintenance, Next Level Garage Service can inspect rollers, springs, cables, track alignment, and opener response, helping catch unrelated wear early.
A handy homeowner may replace a simple nail-on strip or compatible bottom insert. The job gets harder when the old seal is missing, the retainer is unknown, or the door does not close squarely. The wrong type means starting over.
Replacing weatherstripping is different from adjusting the door. Springs and cables carry significant tension and should not be altered during a DIY project. If damaged hardware or poor balance causes the gap, professional garage door repair is safer.
Next Level Garage Service works on residential and commercial garage doors throughout Oklahoma. We handle maintenance, installations, opener upgrades, springs, cables, panels, balancing, and track problems. We’ll determine whether the seal is the whole problem or whether the door also needs adjustment or repair.
Keep the bottom edge and threshold clean. Grit wears the material, while trapped leaves create uneven pressure. Wash the seal with mild soap and water; harsh cleaners may dry the rubber.
During garage door maintenance, look for loose fasteners, flattened seals, and sections pulling away from the frame. Check again after extreme heat, strong wind, or freezing weather.
Weatherstripping typically lasts two to three years, although material quality, sun exposure, climate, and door use can shorten or extend that range. Inspect it yearly and replace it when it becomes brittle, torn, loose, or unable to close visible gaps.
Sometimes a taller, more flexible seal can cover modest variations in height. Larger gaps may require a different retainer, a threshold product, door adjustment, or concrete and drainage work. The opening should be inspected before you choose a solution.
It can help reduce drafts and heat transfer, particularly when the garage is attached to the house or conditioned. Actual savings depend on the door’s insulation, the walls and ceiling, climate, and how the space is used.
Good weatherstripping should sit quietly in the background and do its job every day. If rain, pests, dust, or daylight are getting through, it is time to take a closer look.
Contact Next Level Garage Service at (405) 584-6593 to have your garage door and weatherstripping inspected. We’ll evaluate the seal, retainer, floor, and door alignment, then explain the most practical next step. If replacement is the right solution, we’ll help you choose a compatible seal and make sure your garage door is ready for Oklahoma weather.


